FW Tutorial Series | Volume 1 | Issue 1 | Creating a Block Copy

Volume 1 | Issue 1 | Creating a Block Copy

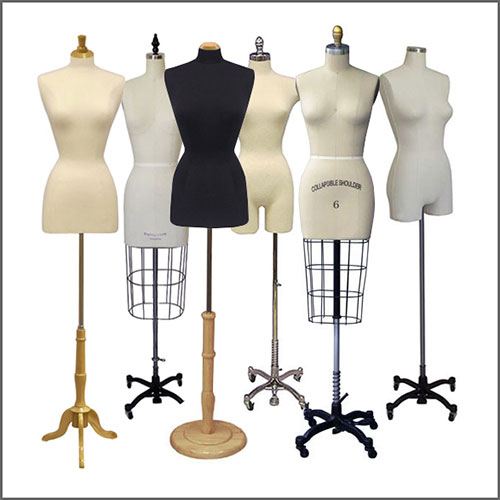
Welcome the first issue in our series of tutorials for block making.You have received your chosen block…what now?

Here is step by step tutorial how to make a copy of your block.

Step 1 | Preparation

  • Roll out flat the AO sheet as soon as you receive
  • Do not leave in a roll
  • Please take care to not damage the paper
  • Leave in a safe place until you are ready to cut out

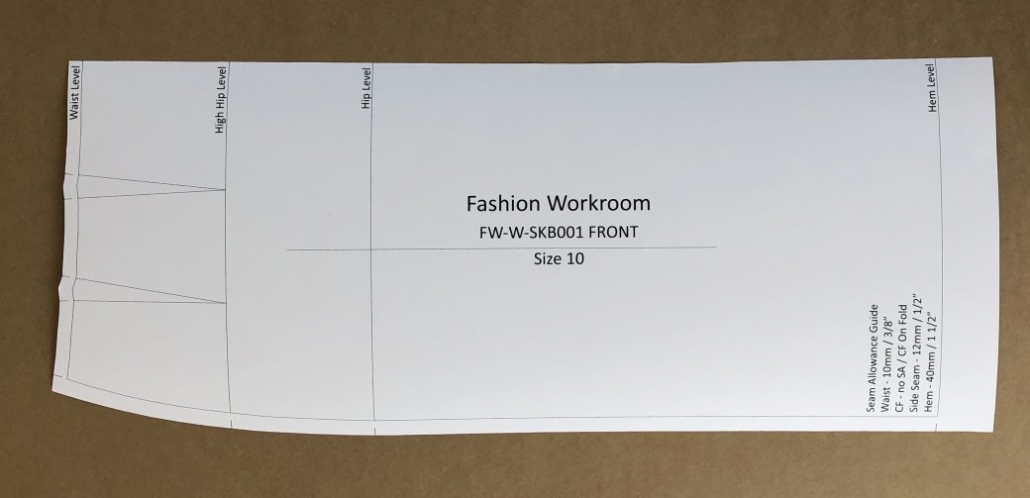
Step 2 | Cutting out the Master Block

  • Cutting is easy isn’t it? Well actually cutting is easy however being accurate isn’t.
  • Using a good pair of sharp paper scissors gently do a “rough cut” approximately 1.5cm outside the block


  • Now cut very carefully on the black line of the blocks

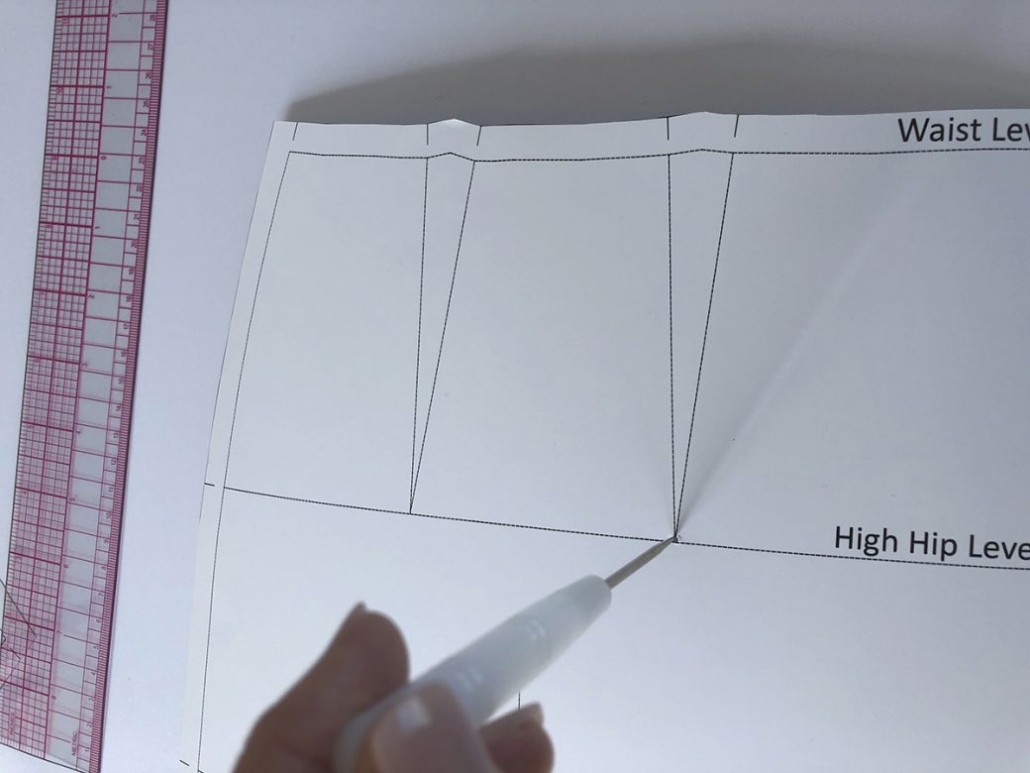
Step 3 | Marking the Master Block

  • Using your Pattern Awl, make a small hole at exactly the tip of each dart.
    (Make this hole only big enough for your sharp pencil to go through)

  • Optional | Notching | I do not notch my basic blocks for accuracy however if you would like to notch notch the areas your would like eg dart ends, seams, levels etc.

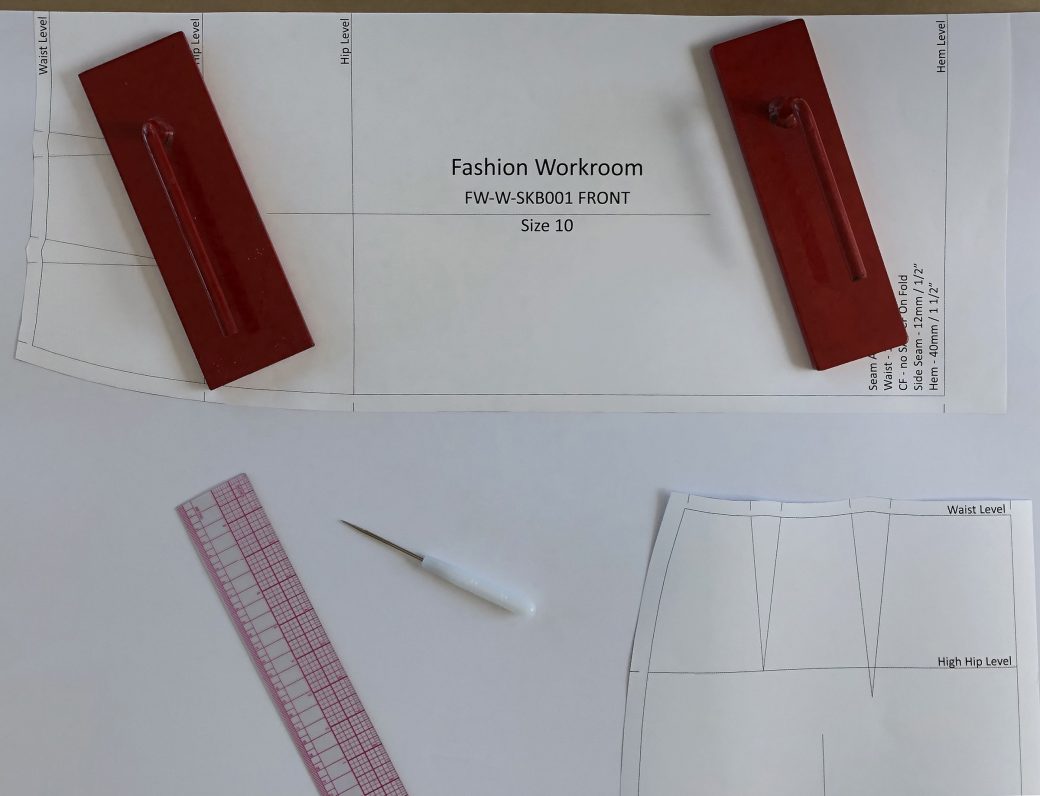
Step 4 | Tracing the Master Block

  • Place the blocks exactly on the edge of the cardboard.
  • Put pattern weights or anything that will not damage your block, however stop your block from moving as you trace the master block
  • Once secure take a sharp HB pencil and trace around the Master Block.

Step 5 | Transfer Markings to Block Copy

  • Using you sharp pencil mark Dart ends
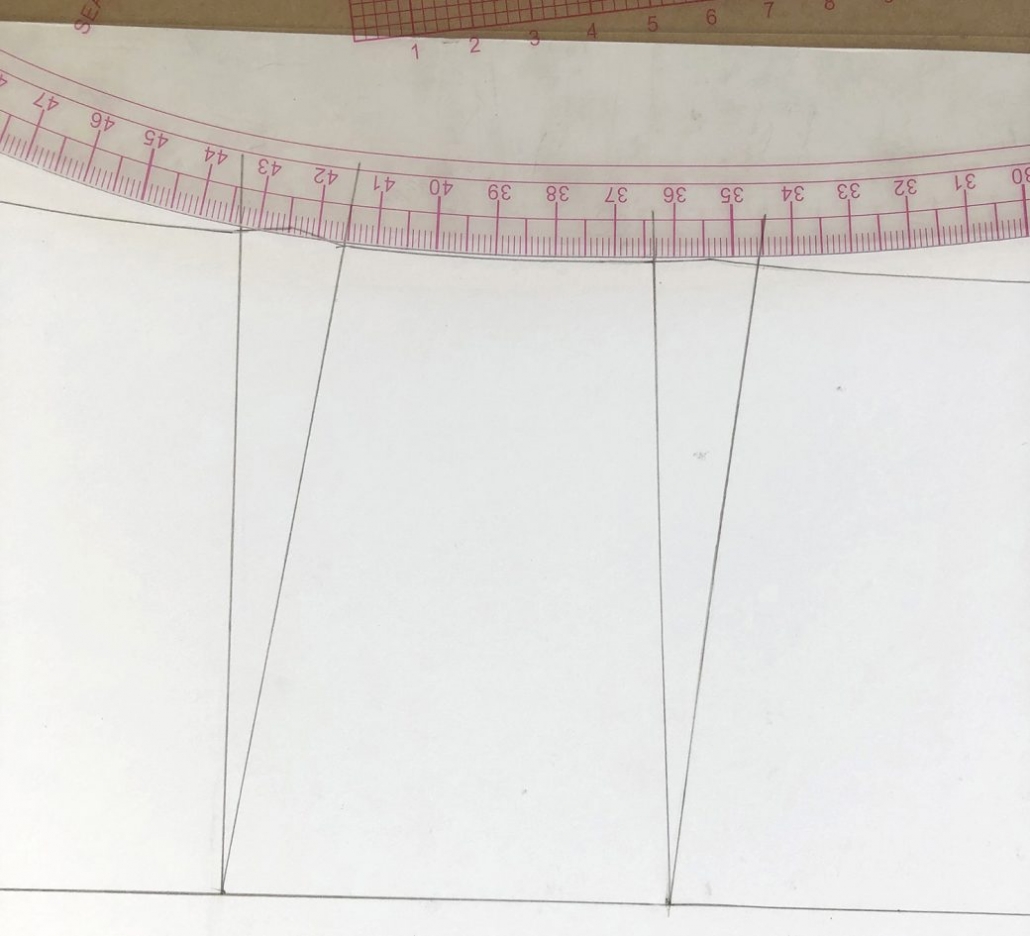
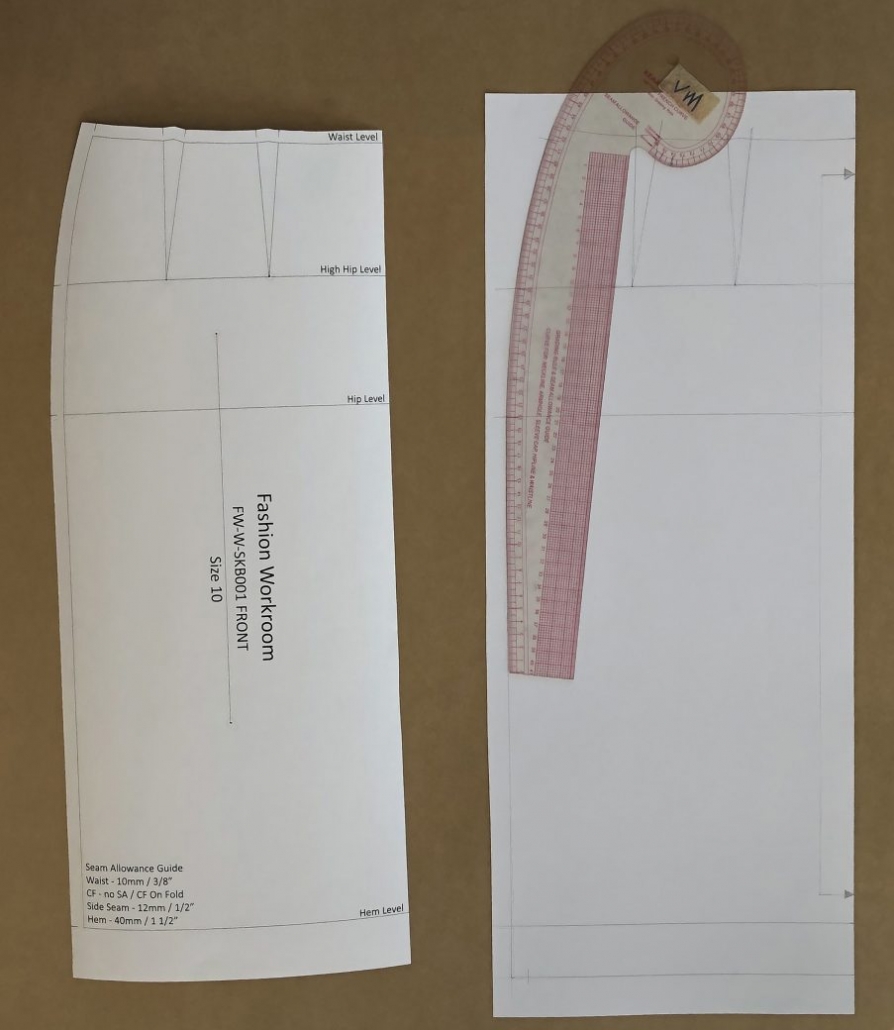
  • Using a your Pattern Making ruler mark the dart ends, block levels (High Hip, Hip)
  • Use your rulers to clean up any lines, eg hip, side seam
  • Label Block replacing Fashion Work room with your name
  • Hole punch the block to hang on a pattern hook
  • Optional: professionally laminate the block.

Congratulations you have now made your first copy!

 Fashion Workroom Tips

  • Good quality paper scissors.
  • Do not not rush this, do it once.
  • Accuracy in every step.
  • File away your Master Block so it is very good condition when you need to re produce a new block
  • I keep my blocks in a clear plastic garment bag for protection.

Need more information contact us

Next tutorial coming..

Volume 1 | Issue 2 | Creating a Personal Pattern from a Basic Block


Dress Form or Mannequin???

What do I buy???


If you are thinking are starting any form of fashion career, selecting the correct Dress Form is as important as a photographer selecting the correct camera.

Many different names are used to describe both a Dress Form and Dress Mannequin so choosing the correct type is difficult when you are starting out.

Dress Form, Dressmaker Mannequin, Dressmaker Dummy, Womens Dummy, Tailors Dummy, Display Dummy, Display Mannequin…and so on

Here are a few important things to consider before purchasing a Dress Form.


  1. Dress Form or Dress Mannequin???

There is a big difference between the two.

A Dress MannequinDress Mannequin

  • Ultimately intended for displaying fashion garments
  • Retail clothing shops, Photographers- photo shoot campaign etc
  • Unrealistic proportions for body shape
  • Less body shape definitions ie. slender hip, less bust shaping and very little under bust definition.
  • Clothes hang better on the smoother shaping
  • No padding for pinning
  • Plastic or fiberglass shape.
  • Very lightweight for mobility
  • Approximately $100-200 depending on quality


Dress Form

A Dress Form

  • Ultimately intended for creating fashion garments
  • Pinnable, has a padded layer. The generous padding under the canvas cover makes your form easy to pin eg draping
  • More realistic body shape..make sure dummy has bottom shaping
  • Collapsible shoulder ..get this feature if possible, makes it easier to get garments on and off. eg skirt, dress
  • Much more sturdy …wheels if possible. Having a mobile dummy is very handy to move around the workroom
  • More weight making them much easier to work with e.g. draping
  • Full body or half body
  • Used by Dressmakers, Fashion Students Fashion Industry etc….
  • Approximately $300-1200 depending on quality & type


  1. Which one do I choose? 
  • What is the purpose…do I want it for displaying garments or creating them?
  • Do you intend to use often or occasionally i.e.. hobby or professional
  • How long do you want it to last?
  • What type of garments am I creating or displaying..do I need legs??
    ie Dresses, pants, skirts swimsuit, intimate apparel etc.
  • Is it needed short term or long term?
  • Look for words like Hobbyist (this is generally a basic dress form designed for occasional use) or Professional (generally abetter quality dress form to be used often and required to last long term)
  1. How much should I pay?
  • Buying a dress form is like buying a car; Work out how much you can spend then do your homework to get the best deal and quality in your price range.
  • Generally the top end dress forms have mechanisms that are meant to last.
  • For custom garments there are adjustable models ranging in price & quality
  • A good ‘middle of the road’ budget is around $300-400
  1. What size to buy?
  • As there are dummies imported from all over the world the sizing charts will vary considerably.
  • Pay less attention to the size eg. 6,8,10,12 etc and focus on the bust waist hip and back length (if possible). You align your mannequins to the sizing you are intending to create.

example: The patterns I produce are for a 90 Bust, 68 Waist, 93 Hip. Take those measurements and align them as close as possible to the measurement chart to choose the dummy size you would like to purchase. By this chart I would purchase a size 8

Screen Shot 2017-01-28 at 1.13.19 pm


  1. Where to buy

To sum up….Before you purchase anything, assess what you need, how much you can afford and how long do you want it to last.

Reference Pages.. more info

Threads Magazine http://www.threadsmagazine.com/item/45700/how-to-select-the-perfect-dress-form/page/all

Questions??? Email me virginia@fashionworkroom.com.au