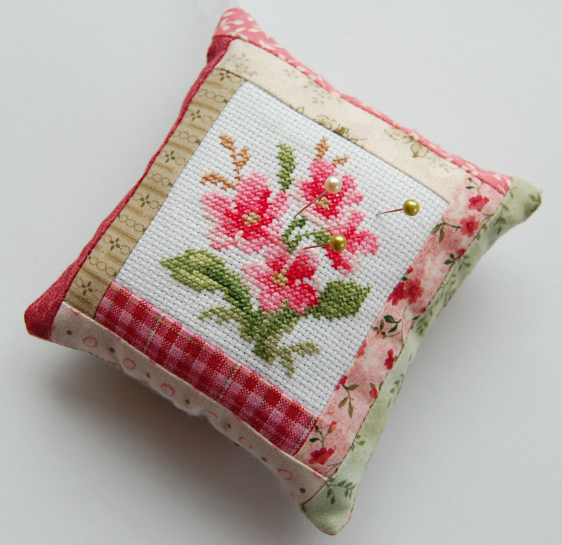
Lets Make an Embroidered Log Cabin Patchwork Pin Cushion
Everyone needs one of these little beauties. A great tool for the workroom or great gift idea for someone special.
This is a very easy project where by you can pick up some new skills. If you have never tried patchwork before give it a go, this is a good introduction exercise.
What is Log Cabin Patchwork?
The origin of the log cabin quilt pattern is difficult to pin down as it appears to have a very long history. A basic explanation of the pattern is that the center piece is usually a square and is completed by adding strips to the center unit in either a clockwise or counterclockwise order.. Depending on the effect desired, light and dark colors are alternated. The quilt colors can be carefully planned out or added randomly as scraps became available.
REQUIREMENTS:
Range of Fabrics Scraps
Matching Thread
Scissors &/or Rotary Cutter
Clear Ruler
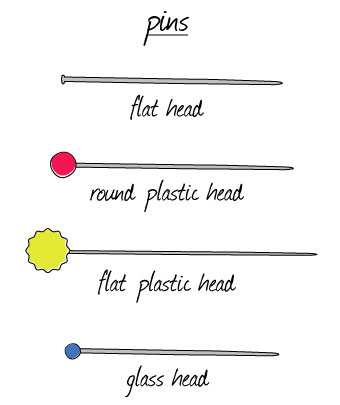
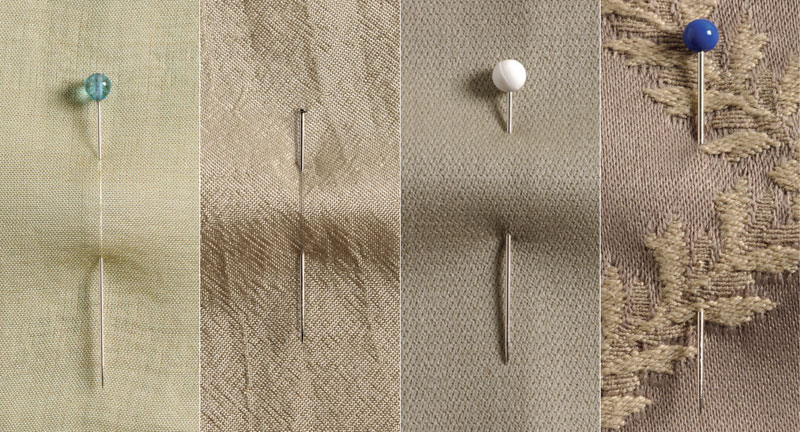
Pins
Polyester Fill
INSTRUCTIONS:
Proceed from Step 1 through to Step 15
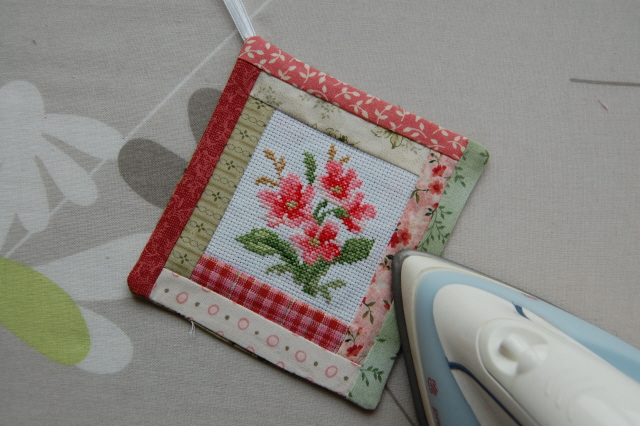
STEP 1: Select what is going to be the centre your of the cushion, then gently press. Below is a cross stitch embroidery.
TIP: Use a pressing cloth to avoid marks on your piece.
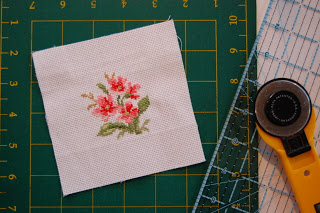
STEP 2: Trim back to 3″ Square or whatever size you would like.
TIP: use a grid ruler to check piece is sure and image is centred.Trim back to 3″ Square or whatever size you would like.

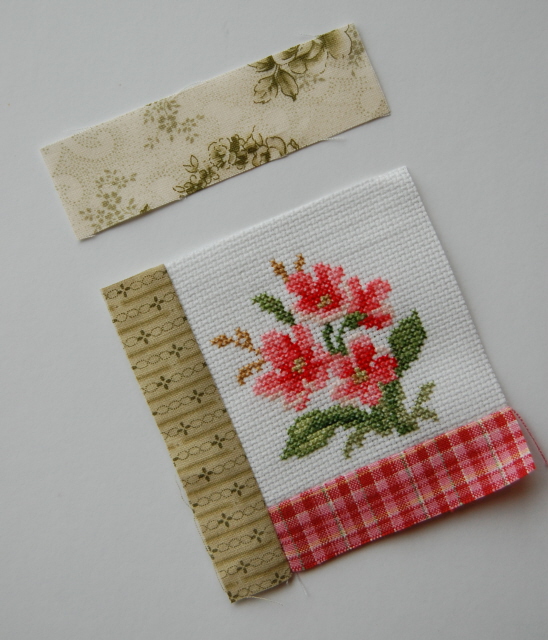
STEP 3: Cut 1 fabric piece 1″ wide x the length of the centre piece as illustrated.
TIP: Patchwork cutting and sewing is all about accuracy. Take you time to do it exact.
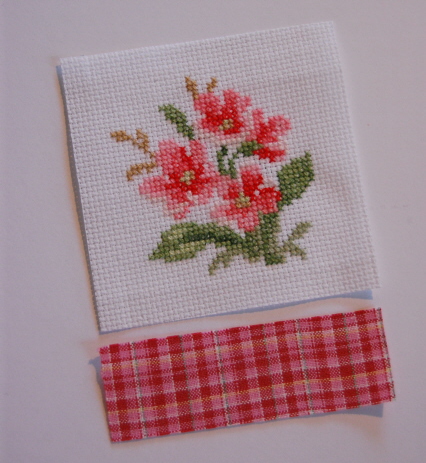
STEP 4: Stitch seam 1/4″ & press

STEP 5: Next panel..Cut 1 fabric piece 1″ wide and the length of you finished piece as illustrated. Stitch 1/4″ & press.
TIP: use pressing cloth in case fabrics have different heat settings.
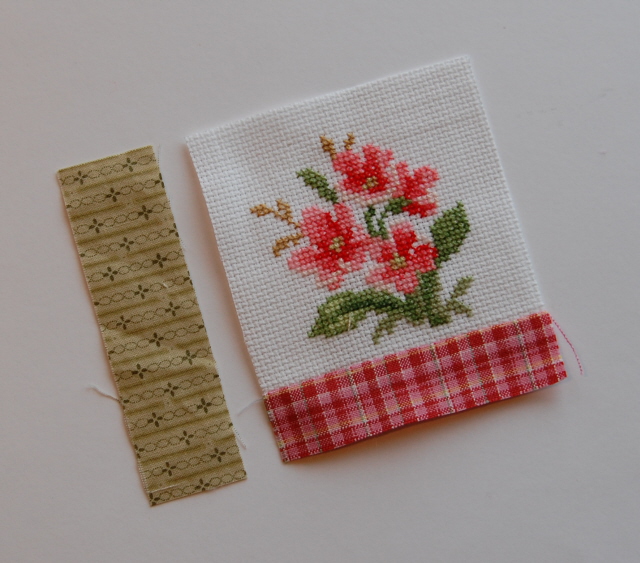
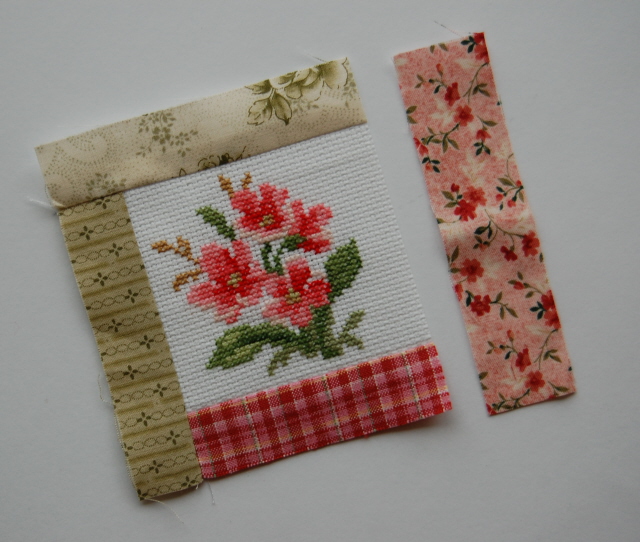
STEP 6: Repeat this step 5
STEP 7: Repeat this step 5
TIP: Press as you go you will get a much better result
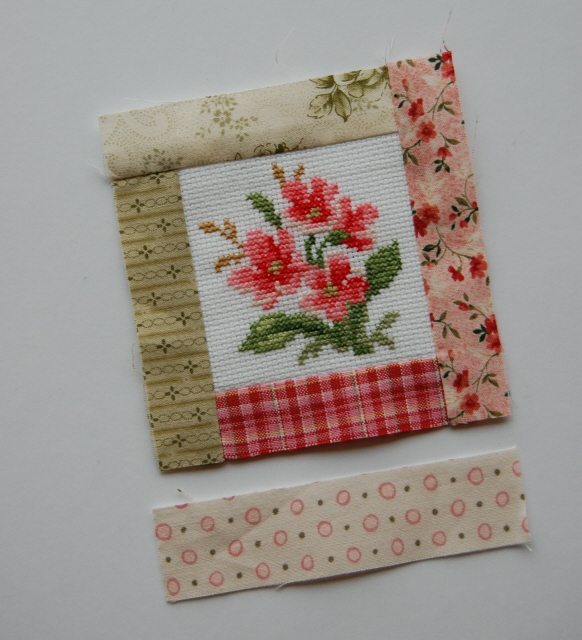
STEP 8: Repeat-Cut 1 fabric piece 1″ wide and the length of you finished piece as illustrated. Stitch 1/4″ & press. for another block
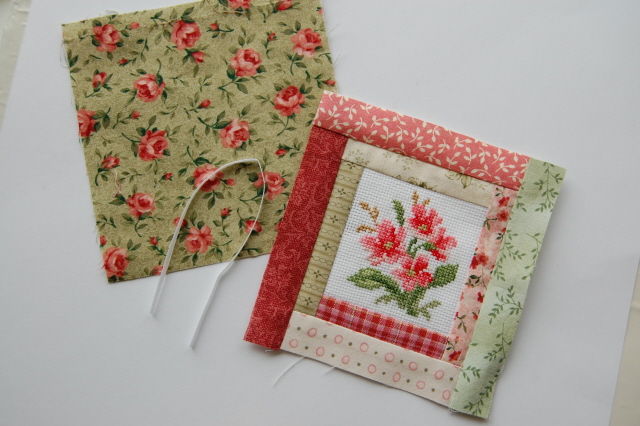
STEP 9: This is how it should look, make sure it is press well.

STEP 10: Cut your backing fabric for the finished measurements of patchwork square.
STEP 11:Rights side of pieces together, pin in place.

STEP 12: Stitch 1/4″ seams leaving a section open to turn through.
TIP: trim off some corner excess before turning through

STEP 13: Turn through pieces through to right side and carefully push out corners with a point turner & press.
TIP: Tease out corners with a blunt point e.g. knitting needle, point turner,
STEP 14: Stuff the pin cushion cover with your choice of fill. (Polyester fill is used here.) Then slip-stitch the opening close.

WHAT STUFFING CAN I USE??
So the first thing to decide is this – do you want a light-weight pincushion or one with some weight and substance to it?
Or does that not matter to you?
Do you like a pincushion that is soft, or do you prefer a firm, relatively solid pincushion.
What is the shape of your pincushion?
Is this pincushion something you actually intend to use, or is this something pretty that will sit on a shelf in your sewing room?
Your answer to each question will then factor into which filling you use and how much you use.
Stuffing / Fiberfill / Wadding.
This comes in cotton, polyester, and bamboo. The benefit of this kind of filling is that it can be stuffed into a point and it will hold that shape.
For any shaped pincushion, this kind of stuffing is the best to use.
Sand – Silica or Play Sand.
Very popular fill for pincushions – it gives a nice weight to the finished pincushion, it is easily found and not very expensive. You can find both kinds of sand at hardware stores and home improvement stores.
Sawdust. This isn’t something new, most vintage pincushions are filled with sawdust. If you know any woodworkers or carpenters, then you’ve probably got an easy source for sawdust.
Ground Walnut Shells
A natural filling for pincushions and other stuffed crafts Gives a solid, heavy feel to the finished item.
NOTE: Not a suitable stuffing for anyone with an ‘allergy to nuts’
Emery Powder
When you use this black mineral to fill your pincushion it becomes one of the best pincushions in all the world! Emery pincushion! Every time you stick your needle or pin into an emery pincushion, it cleans it of the natural oils in your fingers and any impurities in your cloth.
It also sharpens the very tip of your needle, making your work quicker and easier on your hands
It’ll keep your needles clean, sharp and will give the pin cushion some weight.
STEP 15: Congratulations you have finished !!!!!